- Hook – “From Idea to Object”
Time: 5 minutes
- Teacher Action
Show students two objects:
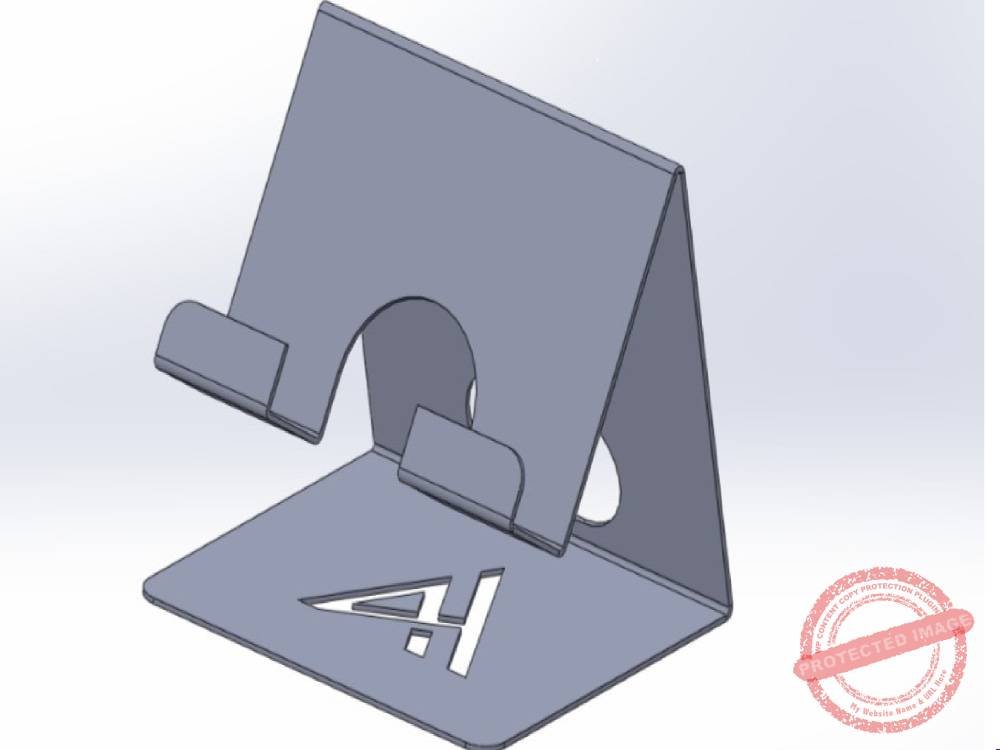
A simple physical object, such as a keychain or phone stand.
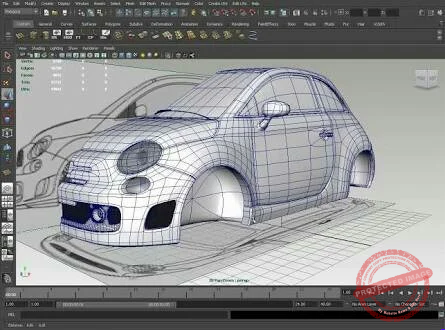
A screenshot of a digital 3D model.
Ask:
“Which one came first: the object or the digital idea?”
“Why would a designer create a digital model before making the real object?”
“What problems can 3D modeling help solve?”
- Student Action
Students answer orally or on sticky notes.
- Expected Responses
To test ideas before making them.
To save time and material.
To design useful objects.
To fix mistakes before printing.
- Mini Explanation – What Is 3D Modeling?
Time: 7 minutes
- Teacher Action
Present the key concepts:
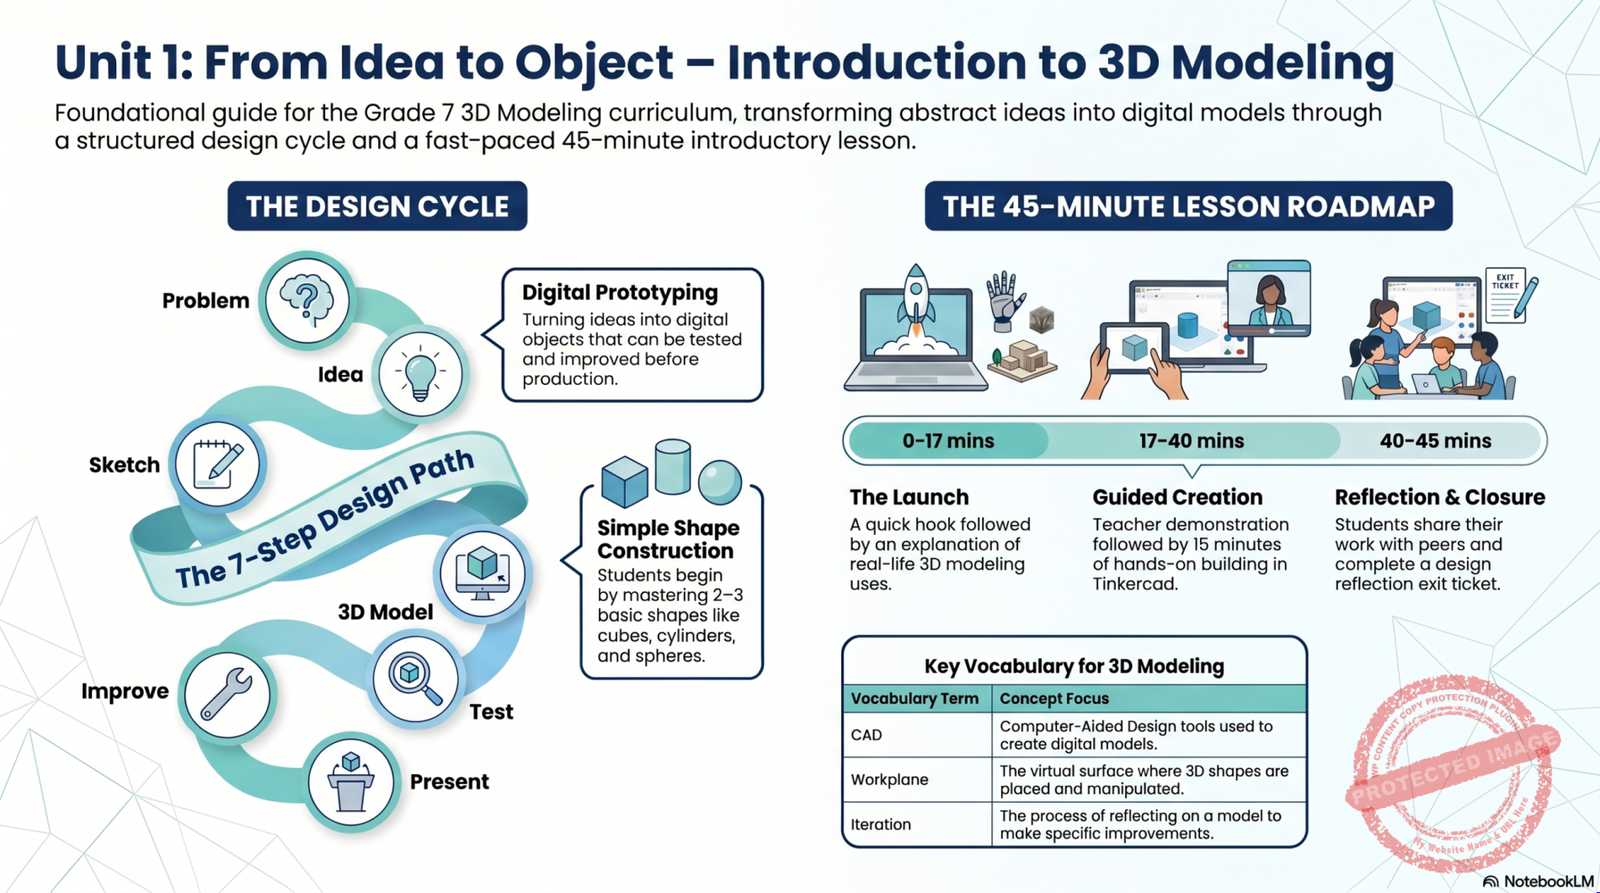
3D modeling is the process of creating a digital object that has length, width, and height. Prototyping means creating an early version of an idea so we can test it, improve it, and make it more useful.
Explain the design cycle:
- Identify a problem.
- Understand the user.
- Sketch an idea.
- Build a 3D model.
- Test the model.
- Improve the design.
- Present the solution.
- Student Action
- Students copy the design cycle into their design journal
3. Real-Life Connection Discussion
Time: 5 minutes
- Teacher Prompt
“Where do people use 3D modeling?”
Possible Areas
- Architecture
- Medicine
- Engineering
- Product design
- Education
- Game design
- Robotics
- Assistive tools
- Environmental solutions
- Prototyping inventions
- Student Task
Each pair writes one example of a 3D model and who benefits from it.
Example:
“A pencil grip helps students who have difficulty holding a pencil
- Teacher Demonstration – First Look at Tinkercad
Time: 8 minutes
Teacher Steps
- Open Tinkercad.
- Show the workplane.
- Drag a box onto the workplane.
- Drag a cylinder onto the workplane.
- Resize one shape.
- Rotate one shape.
- Move a shape.
- Change the color.
- Group two shapes.
- Rename the design: “Unit 1 First Model – Student Initials.”
- Important Teacher Language
“Every complex model starts with simple shapes.”
“A good designer names files clearly.”
“Today we are not aiming for perfection. We are learning how to start.”
- Hands-On Activity – Build a Simple Useful Object
Time: 15 minutes
- Student Challenge
Create a simple object using 2–3 basic shapes.
- Rules
The model must:
Use at least two shapes.
Have a clear purpose.
Be named correctly.
Be saved before the end of the lesson.
- Suggested Beginner Options
Mini table
Simple chair
Small button
Small container
- Step-by-Step Student Instructions
- Log in using the teacher’s class instructions.
- Create a new 3D design.
- Rename the file: “Unit 1_First Model_Initials.”
- Drag one box to the workplane.
- Resize it.
- Add a second shape.
- Move the second shape into position.
- Rotate or resize one part.
- Change colors.
- Group shapes if needed.
- Check the model from different camera angles.
- Save the design.
- Take a screenshot if required by the teacher.
- Peer Share – “What Did You Make?”
Time: 3 minutes
- Student Action
Students turn to a partner and explain:
What did I make?
Who could use it?
What would I improve next?
- Peer Feedback Sentence Starters
“I like that your model…”
“One question I have is…”
“One improvement could be…”
- Closure and Exit Ticket
Time: 7 minutes
- Exit Ticket Questions
- What is 3D modeling?
- What is a prototype?
- Name one tool or action you used today.
- What did you create?
- What is one thing you would improve next time?
- Teacher Collection
- Collect exit tickets or check digital submissions.
Teacher Notes for Unit 1
This lesson should be simple, confidence-building, and exploratory. The goal is not to produce a perfect model. The goal is for students to understand that 3D design is a process: start with a problem, build a simple idea, test it, and improve it.
The teacher should focus on:
- Encouraging experimentation.
- Normalizing mistakes.
- Using correct vocabulary.
- Connecting the tool to real-life design.
- Preparing students for more structured CAD skills in Unit 2